Homemade Yogurt the Easy Way!
…simple joy by simpler living
Why would you ever want to make your own yogurt when you can buy it at practically any grocery store? Probably for the same reasons why I started: extreme price increases and low stock everywhere. When inflation hit our groceries hard last year, I started looking at the things I bought the highest quantities of and searched for ways to save money on these items. In my house, yogurt was one of the most often purchased items. Yogurt had almost doubled in price so I knew something had to change. When the stores completely sold out of the kind I bought, the time had come to be done depending on store bought yogurt.
I decided to try making my own. I saw on my instant pot that it had a yogurt button so pursued that method first. After discovering how easy it was, and how delicious it was, I will never turn back to store bought!
Why You Will Love It:
Easy – It basically only has 4 main steps: heat milk to 180 degrees, cool to 110 degrees, whisk in starter/probiotics, put back in Instant Pot incubate 8-24 hours. You just need some milk and a starter and you can make this easily at your convenience. Once made, the yogurt lasts for weeks.
Immune boosting – Made with just milk and a starter, this yogurt is so much healthier than storebought with added sugars and many other ingredients. You can incubate for 8-24 hours. The longer you incubate, the more probiotics in your yogurt. I use a probiotic pill plus starter (3 tablespoons of yogurt) and incubate 24 hours for maximum probiotic cultures. More probiotics mean better gut health for everyone who eats it. Gut health is known to be the center of your immune system. Having a lot of good bacteria in your gut (prebiotics & probiotics) help your body have the ability to fight off bad bacteria (viruses, germs…) when they come your way. (https://www.healthline.com/nutrition/8-health-benefits-of-probiotics#indigestion) What better way to increase your immunity than with great tasting homemade yogurt! Brief testimony… My family has been eating this delicious yogurt everyday for breakfast since last summer and has not gotten sick since. Even when very exposed to illnesses where others got bronchitis and pneumonia, we just got very slight symptoms for a day or two, showing we did have it in our systems, but then it went away. Not a scientific study but we are pretty amazed our whole family just made it through the entire winter with not one cold, fever or other illness.
Delicious – There is no comparison to the taste of homemade versus store bought with all their added ingredients. Top it with your own fresh ingredients and yogurt has never tasted better! Even my pickiest eater asks for it first thing every morning. It is so good you may just want to serve it as a dessert!
Tools Needed:
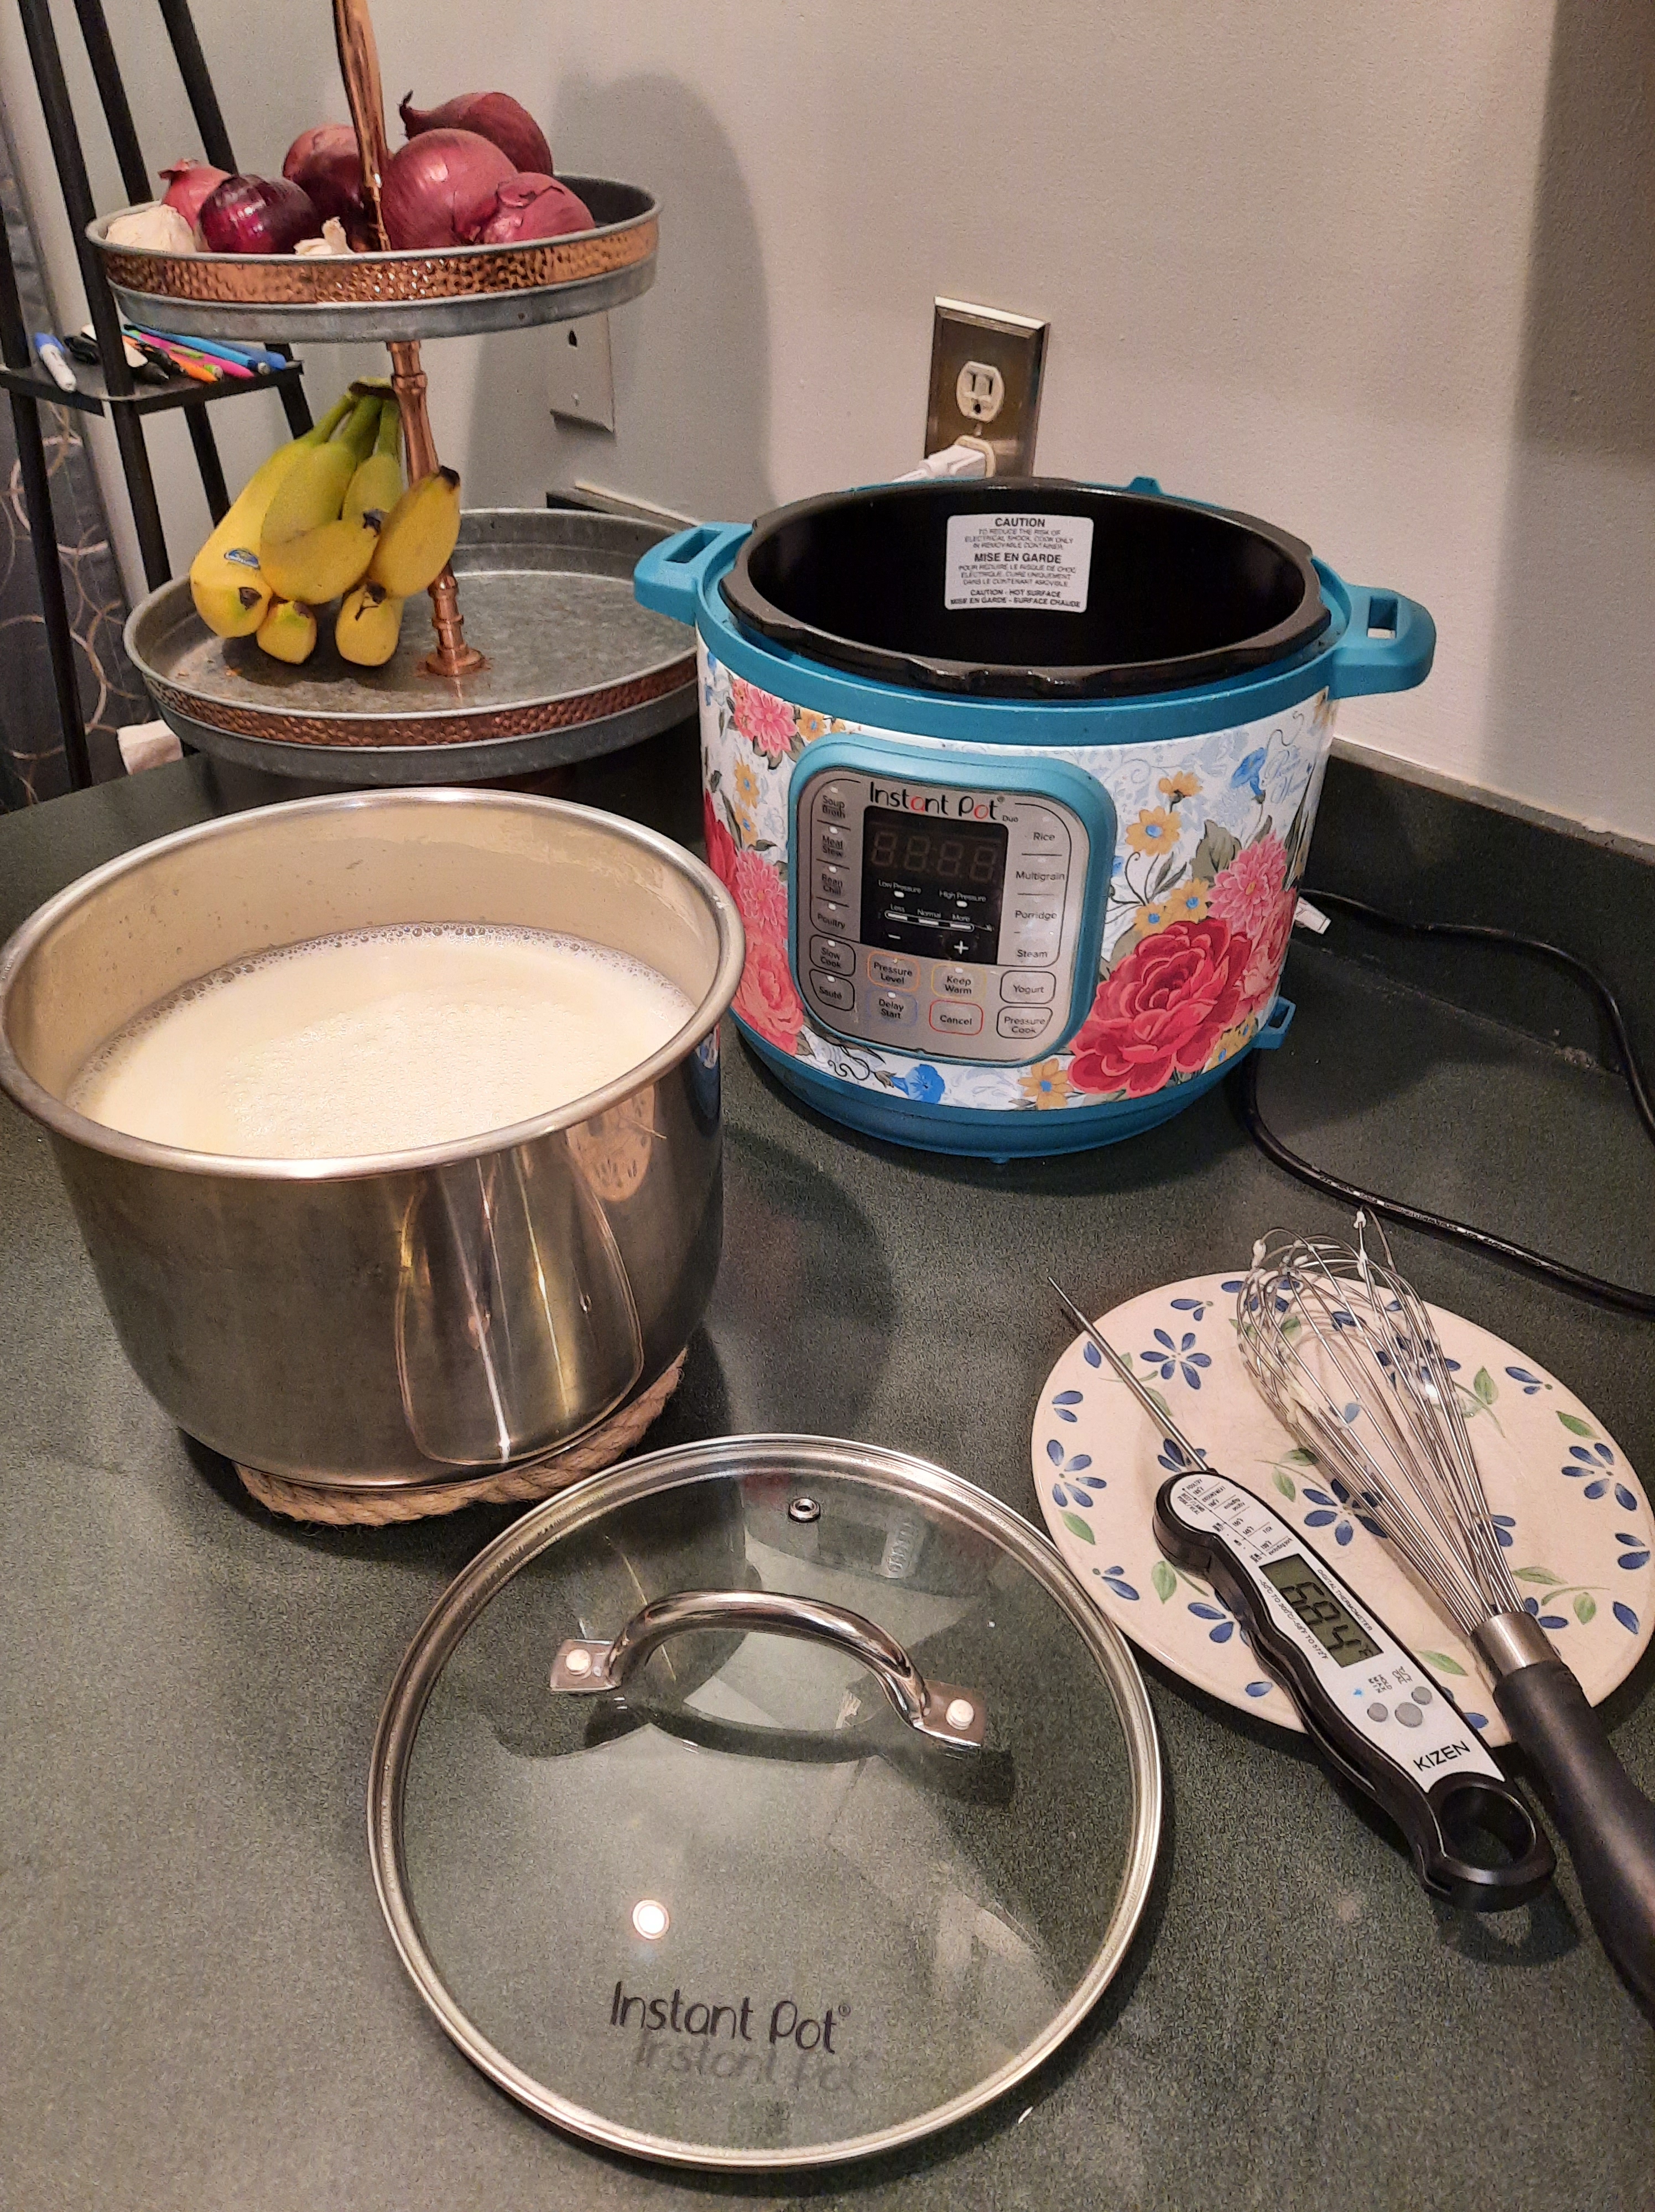
- Instant Pot
- Whisk
- Food Thermometer
- Optional: Greek Yogurt Strainer
- Optional: Instant Pot Glass Lid (Because it is not pressure cooked you can get a glass lid for yogurt making. I did this because I make so much and it is easier to wash & see inside.)
- Optional: Instant Pot Plastic Lid
(** For full disclosure, I receive a small affiliate fee through the Amazon links. Although, I only recommend products I actually use and believe in.**)
Ingredients:
- 1 Gallon Milk – Any milk will do but I use A2/A2 milk from a local dairy farm. This milk comes from Jersey cows and is creamier, more easily digested and contains omega 3s, higher protein, beta carotene and more. To top it off it is SO much more delicious! I get it delivered within a day of milking so that also makes a big difference. BUT…. any milk will do. You can get good results with any fresh milk.
- 2-3 Tablespoons Yogurt Starter or Probiotics– This can be something sold as “yogurt starter” or a regular milk yogurt that has live/active cultures. Read the labels to find one at your local stores. One brand recommended that I have had success with is Yoplait OUI Yogurt. I has live cultures and minimal other ingredients. You could also use yogurt cultures or probiotics. What I use is 2-3 tablespoons of my latest batch of yogurt AND a probiotic capsule (I open capsule and whisk probiotic powder in with the starter.) This gives me a thick, creamy yogurt each time. Only certain strains of probiotics culture to make yogurt. You can buy some specifically labeled for yogurt but I tried my daily probiotic pill because it contained many of the proper yogurt strains probiotics and it worked. It worked so well that I keep doing it with great success!
Recipe:
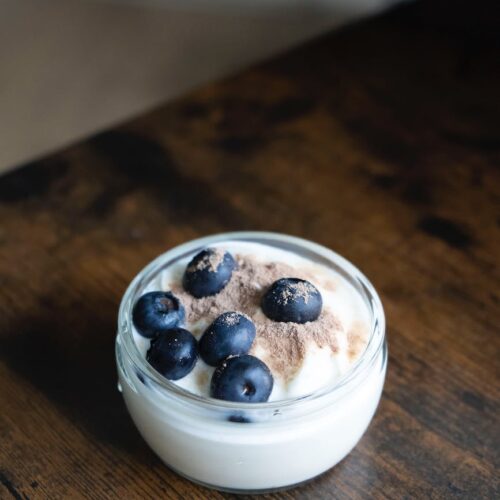
Homemade Yogurt in Instant Pot
Equipment
- 1 Instant Pot with yogurt function
- 1 Whisk
- 1 Food Thermometer
Ingredients
- 1 gallon Milk
- 3 tbsp Yogurt
- 1 capsule Probiotic pill (optional
Instructions
- Pour 1 gallon of milk into Instant Pot & cover (don’t need pressure lid because it is not pressure cooked).
- Push the “Yogurt” button until it says “boil”.
- When the Instant Pot beeps, check the temperature to make sure it is 180 degrees. (I find it is always at that temperature unless I have removed the lid during heating up.) (If it is not hot enough, you can turn to saute mode and whisk the milk until it gets up to 180 degrees).
- Remove the metal liner with milk to let milk cool down to 110 degrees. You can do this by letting it sit on your cool stove top for a while or setting the metal liner in a big bowl of ice water.
- Remove 1 cup of milk to a separate bowl and whisk in 2-3 tablespoons of a yogurt starter. When this is smooth add back to the rest of the milk in the metal liner and whisk all until smooth.
- Return the metal liner to the Instant Pot. Cover.
- Push the “Yogurt” button again until it says 8-24 hours. You choose how long you want it to incubate. (The longer you incubate, the more beneficial probiotics it creates. I always choose 24 hours and decide the following day when I need to take it out, depending on my schedule of when I will be home.)
- After 8-24 hours remove the liner with yogurt and your yogurt is done!
- Optional last step: strain yogurt in a yogurt strainer to make Greek yogurt. Great option if you are lactose intolerant as the lactose is drained out. I usually let it cool in refrigerator first. Enjoy!
Ways to Serve:
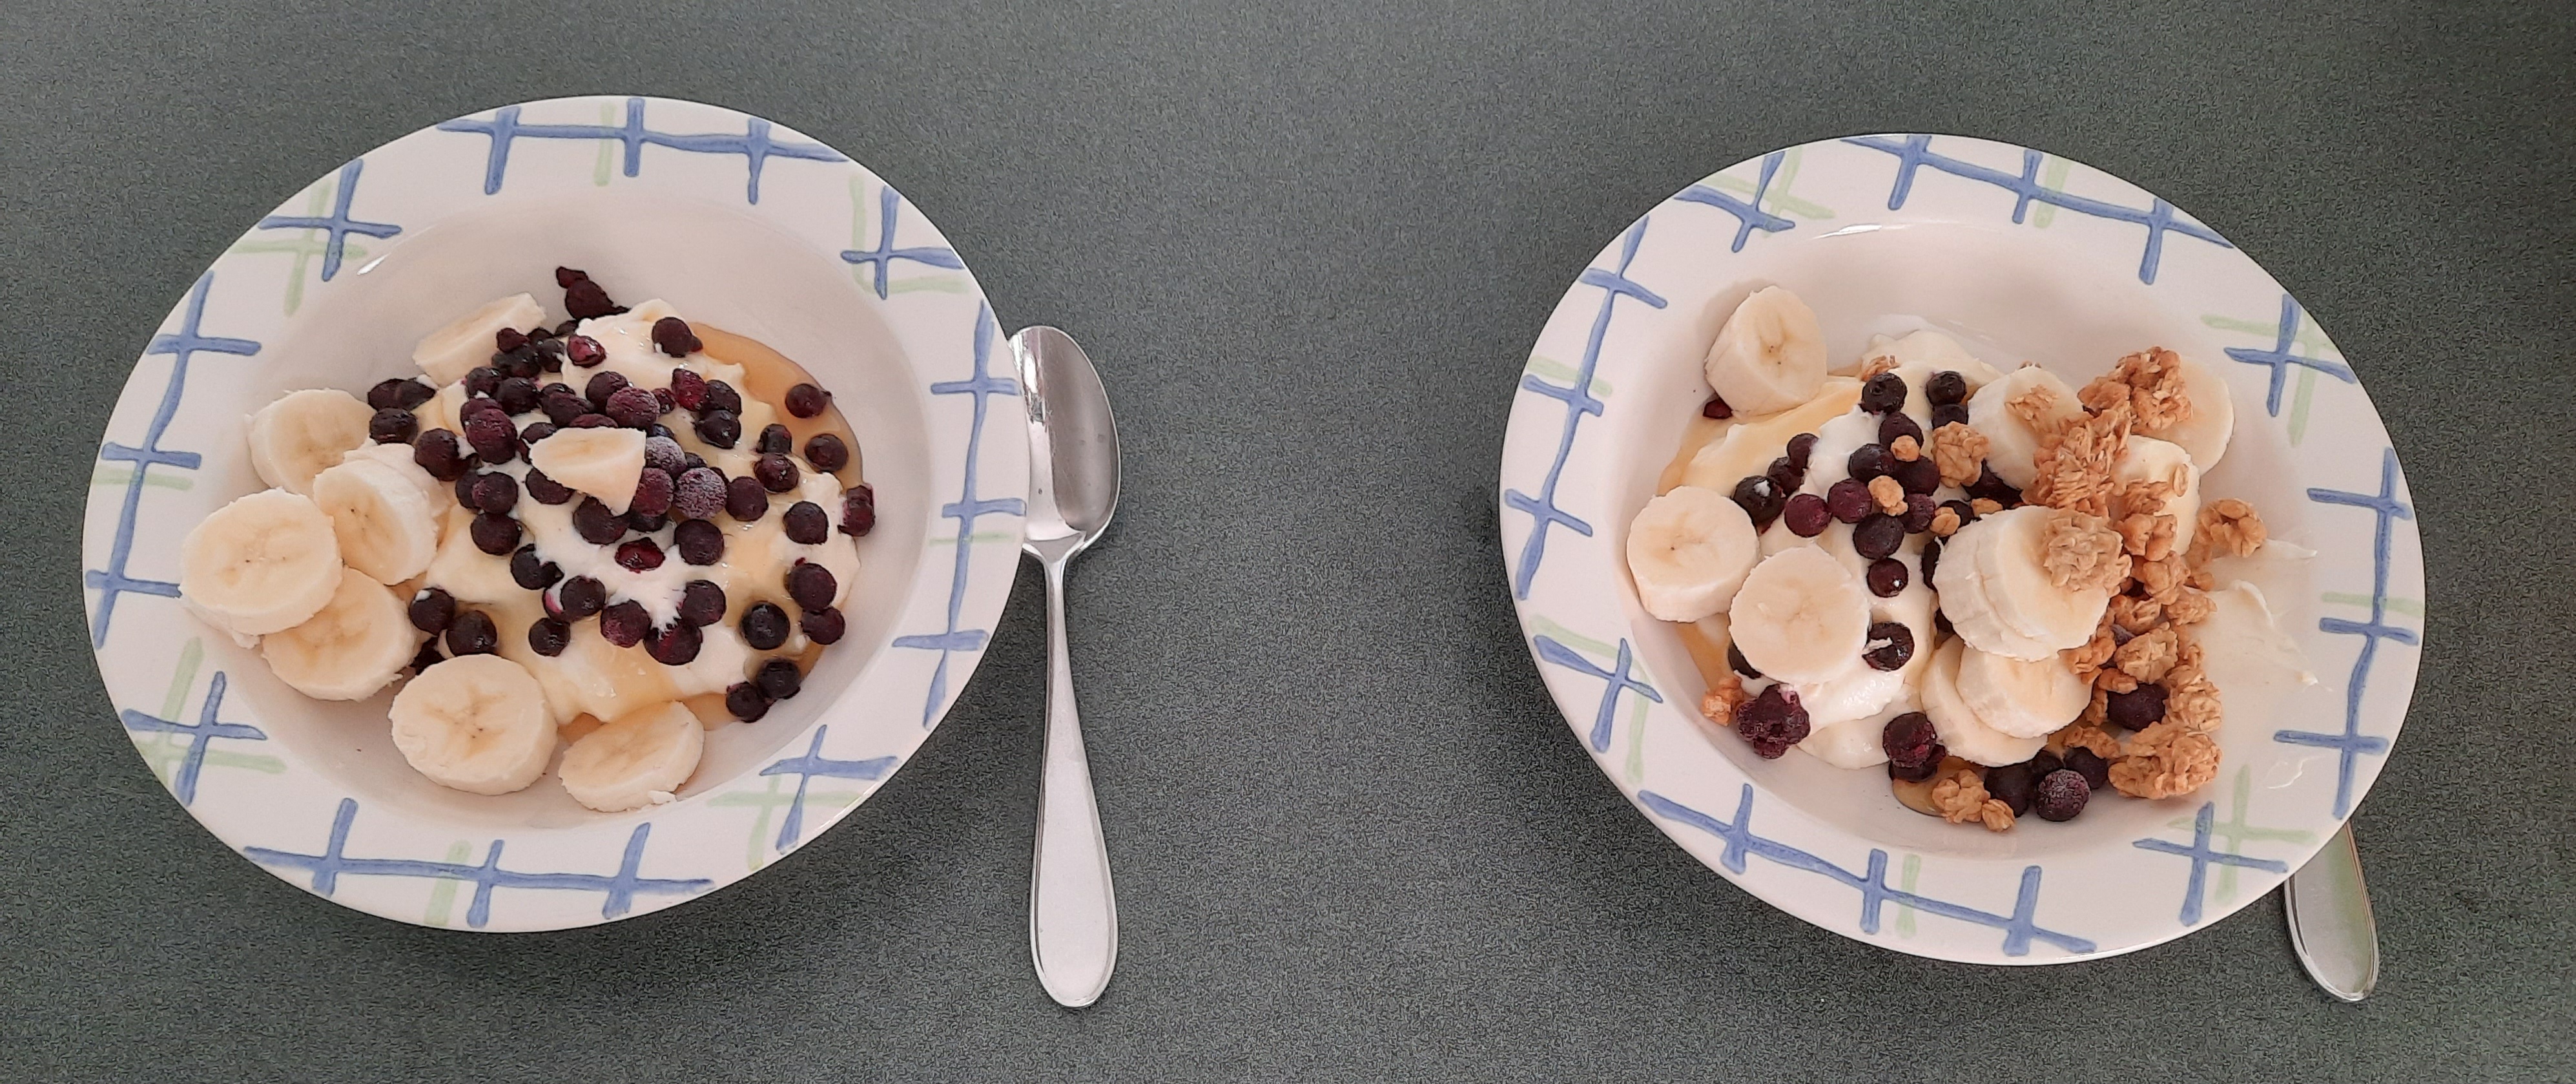
Fresh bowl of yogurt – We love it best with some local honey, fresh berries, sliced banana and granola on top. You will probably want to add some sweetener so the most natural, unprocessed sweetener the better.
Smoothies – This tastes great in smoothies. See my smoothie recipe: https://simplycountitalljoy.com/2023/04/28/simple-energizing-breakfast-smoothie/
Sour Cream – If you do not sweeten, this can be a substitute for sour cream. Much healthier than regular sour cream. This is a good alternative if you are lactose intolerant and can’t eat regular sour cream.







I have been searching for a homemade recipe for yogurt that’s healthy and tastes good, maybe this will be it